With the launch of our new 21-day Free Proof of Value, new users have plenty of time to begin seeing the value that Panoply adds as a part of their tech stack. In order to make sure you get the most out of these 21 days, we’ve put together a checklist with milestones you should target within this time - your steps for a successful Proof of Value period.
Broadly, we’re splitting this into day one, then two-week periods. Day one gets you up and running within Panoply, so that all of your data is synced and flowing (because it really is that fast and easy). For the rest of the 21-day period, we focus on bringing in additional data and users, and using Panoply to drive your business reporting.
Feel free to use this list as a general onboarding guide, but once you schedule your first call with your account manager, they’ll be able to create a personalized onboarding plan to address your specific needs.
Let’s dive in!
Day One
- Create your Data Warehouse
This happens automatically when you start your Proof of Value and create your Panoply account. - Schedule a data review with your account team
Shortly after creating your Panoply account, your assigned account manager will be reaching out to schedule a call. Doing this early on will ensure that you’re set up for success right away. - Connect your first data source
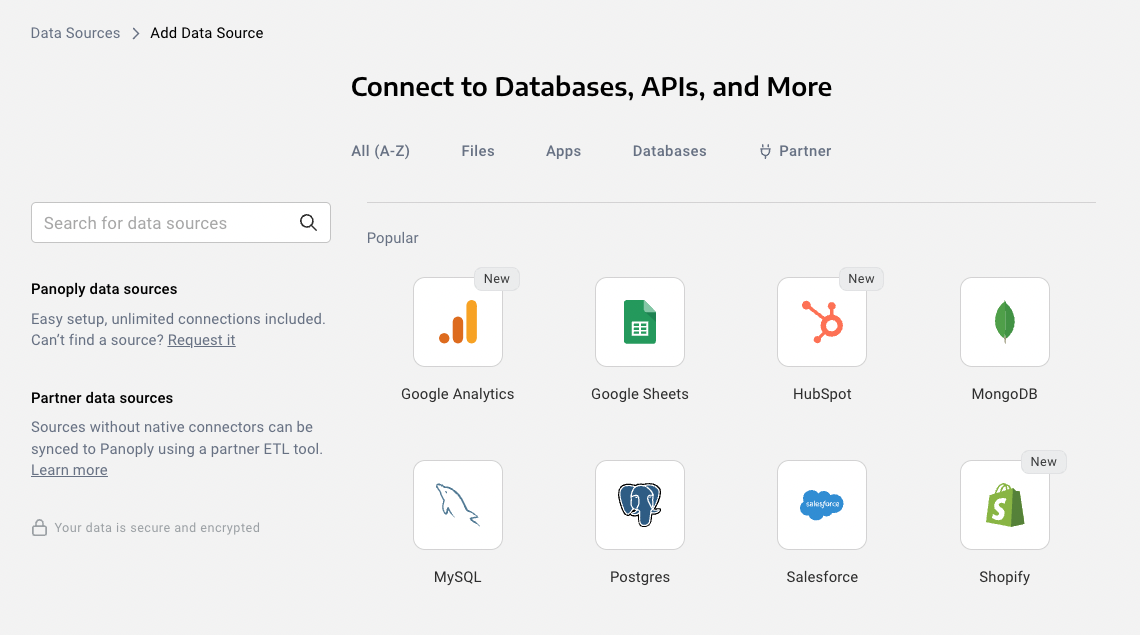
It’s easy and straightforward to connect your existing data sources and choose which data tables and columns you want to import—just see our list of available connectors here and follow the steps in the platform.
- Successfully collect data
Once your first data source is connected, it’s time to collect data! Your data will be stored securely on Panoply’s servers in analysis-ready tables, based on the data fields you select to bring in. - Schedule collections
Now that you have a data source connected, it’s time to automate the collection process. Schedule how frequently you want to collect–that is, append new data to your Panoply tables as well as update existing data rows–and Panoply will continue to do so without you lifting a finger in the future. - Query your data
Panoply’s SQL workbench makes it easy to explore your data as soon as it’s ingested. - Connect a BI Tool
Now that you have data flowing into Panoply, let’s send it to your Business Intelligence tool. Panoply can connect with nearly any BI tool around, but if you don’t have one set up yet, your Account Manager can give you some advice on your options.
 First 15 Days
- Connect additional data sources
You’ve got one source set up correctly, but Panoply becomes even more powerful with additional sources. Plus, you get unlimited access to Panoply data connectors on all pricing tiers, so why not bring in all of your data? Repeat steps 3-5 with as many data sources as you’d like. - Invite other users to your data warehouse
If there are other people on your team or within your company who are also looking for better data access, go ahead and invite them to your account now. You’ll be able to set their permissions level – Viewer, Editor, or Admin – when you send the invite. - Build cross channel reports or dashboards
You’ve got all the pieces, now it’s time to put them all together. With your multiple data sources coming into Panoply, you can use the tables you’ve created to run SQL queries directly in our Workbench, which you can save as views to push to your BI tool. - Consolidate reporting
At this point, the bulk of your reporting should be coming from data that you’re piping into Panoply. If not, schedule a call to see how we can get you there. - Sync with your account manager on usage
Now is the time to look at how many query bytes you’ve used so far, and how many you’ll need in the future. Since usage is the main factor in our pricing tiers, our sales team will now be able to estimate which tier will be right for you.
Final Week
- Consolidate reporting
At this point, the bulk of your reporting should be coming from data that you’re piping into Panoply. If not, schedule a call to see how we can get you there. - Sync with your account manager on usage
Now is the time to look at how many query bytes you’ve used so far, and how many you’ll need in the future. Since usage is the main factor in our pricing tiers, our sales team will now be able to estimate which tier will be right for you. - Get internal approvals
Start sharing the results you’ve seen with Panoply internally, and share the appropriate pricing information with your finance team, or anyone who may need to sign off. - Sign a contract, and keep your data flowing
You’ve made it to the end of your 21-day Proof of Value, and you’ve seen how Panoply can make your data collection, storage, and analysis faster and easier - now let's keep it going!
Ready to get started with your own Panoply account? Sign up here for a free 21-day Proof of Value.


