Data is the new hot topic, and in this day and age, there are multiple platforms we can use to store our data. Shopify is one such platform used by millions of businesses. This blog will help you understand how to export Shopify data and use Panoply to perform data analysis for better business insights.
Shopify data provides a wealth of information to store owners that they can then leverage to make informed decisions and grow their revenue and customer base.
To make use of this data and provide you with valuable insights, we've created this step-by-step article on importing Shopify data.
There are two ways to load data in Panoply from your Shopify; we’ll discuss both.
Part 1: Manually Export Data and Add to Panoply
Store owners frequently need to export Shopify data, and luckily they can do it manually with the click of a mouse.
Step 1. First, log in to your Shopify store's admin panel and navigate to the Products tab.
Step 2. On this, you can find Export Option in the top right corner.

Step 3. Then, select all the relevant data you would like to export.
Step 4. Once you click the Export products button, products data will be exported in the requested file format.
After exporting data from the Shopify store, we need to add the downloaded CSV file to our Panoply account. Let's start the work!
NOTE: Make sure you've already set up a Panoply trial account.
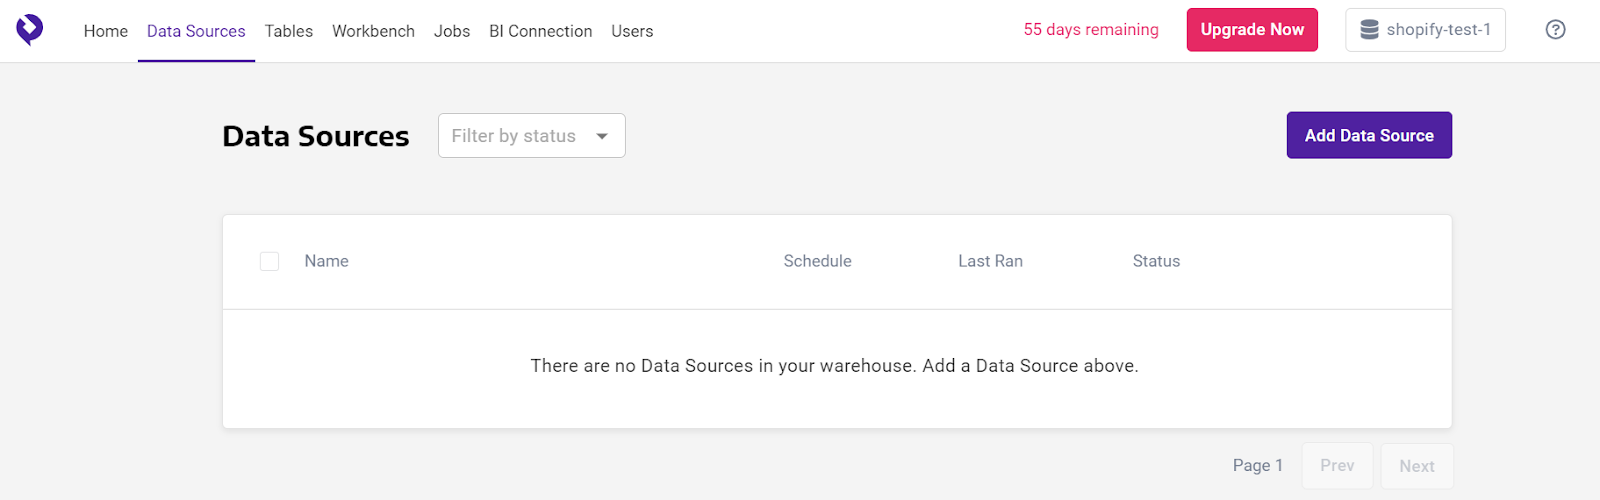
Step 5. Log in to your Panoply account and navigate to the Data Sources tab in the Navbar.
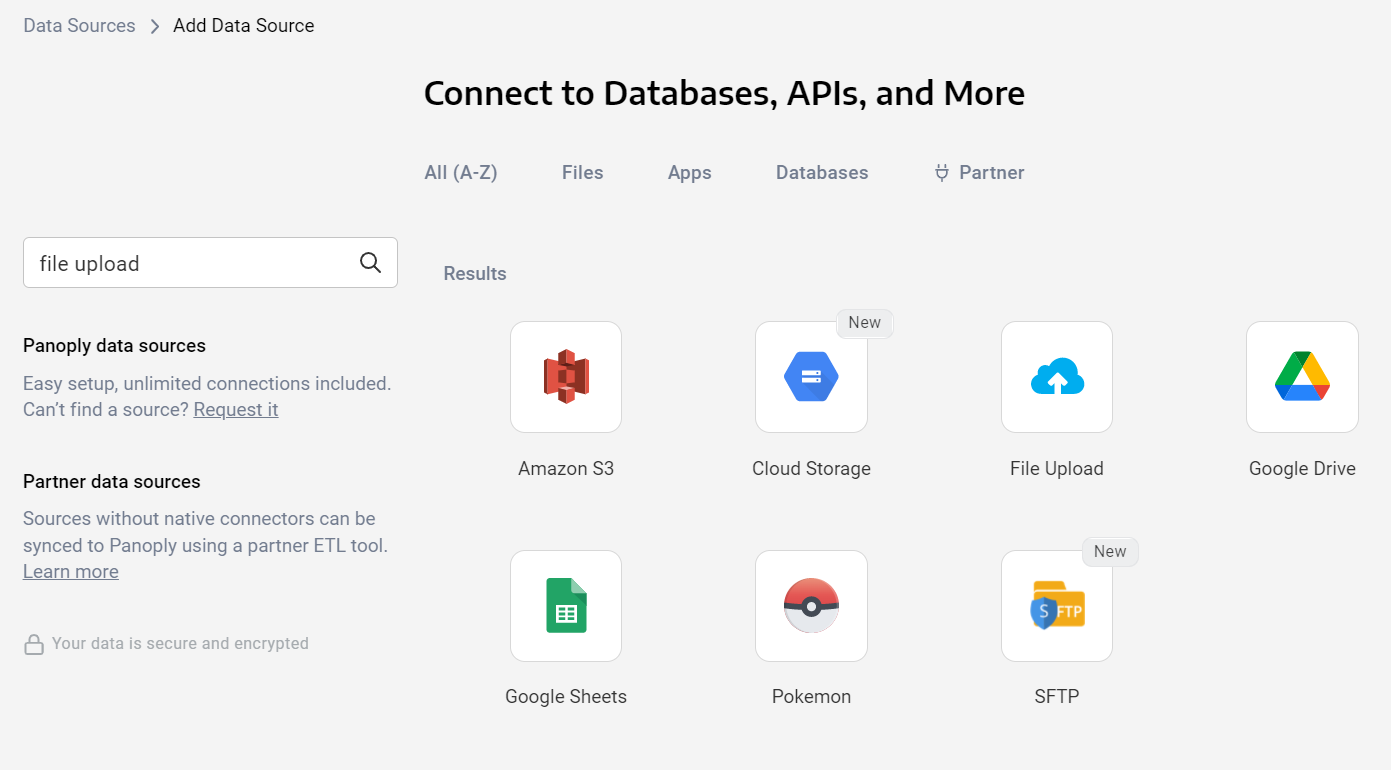
Step 6. Next, click on the Add Data Source option and search for File Upload.
Step 7. Then, select the File Upload option and upload the CSV file.
Step 8. Add any name in the Destination Table input field and click on Save Changes.
Step 9. Once you save the changes, click on the Collect Data button.

Now you've successfully added your Shopify data to your Panoply account. In the next section, we'll automatically connect Shopify and Panoply to fetch data from the Shopify account.
Part 2: Connect Your Shopify Store to Panoply
While the above manual export is certainly an option, the simpler option is to automate your data collection using Panoply. Connecting your Shopify store to your Panoply account is quick and simple. You can use an existing Shopify store or a new store you've just created. To do so, follow these steps:
Step 1. First, log in to your Panoply account and navigate to the Data Sources tab.
Step 2. Then, click on the Add Source option and search for Shopify.
Step 3. Once you select Shopify, you'll be redirected to a new page, where you need to enter your shop name.
Step 4. Next, once you enter your shop name, you'll find a Login button just below that.

Step 5. Use that button to connect your Shopify store to Panoply.
Step 6. Once you're successfully logged in, select all the data you want to fetch from your store.

Step 7. Finally, after selecting the data, save the changes and click on the Collect Data button.
And there you go; it's that simple.
To check the progress or history of data collection, you can select Collection History from the sidebar. One of the best parts here is that this is just a one-time job. You now can schedule data collection using the Schedule Collection option and get rid of manual triggering.
Now that we understand how to load Shopify data into Panoply, it's time to explore what unique features Panoply offers and how we can use them.
How to Analyze Shopify Store Data Using Panoply
To analyze the data, navigate to the tables tab, where you'll find all the data you've collected from the data source. Panoply offers unique functionalities to make data analysis easy and approachable. Let's check them out.
1. Panoply Workbench
Having an extensive database of customers, leads, products, or orders can be challenging. You may have a database of 100,000 customers with 10,000 orders on each of them. That is a lot of data to work with, and it can be challenging to manage and analyze all of it. This is where the Panoply workbench comes in.
Our workbench is a browser-based SQL query runner where you can query any data coming from any data source.
To query data using the workbench, select any table from the list of tables and click on the Query button on the top.
2. Panoply Data Recipes
Panoply Data Recipes is a new feature of Panoply that allows users to query data easily and quickly. This is a huge time saver for users who are unfamiliar with SQL. Panoply Data Recipes are pre-built SQL queries. This allows them to query data easily without writing long queries. With Panoply Data Recipes, users can query hundreds of thousands of rows of data in just a few clicks.

3. BI Connections
Additionally, Panoply offers amazing BI connectors that are the key to unlocking the full potential of your data. Panoply business intelligence connectors let you connect your data sources to the most popular BI tools (Trevor.io, Grafana, Google Data Studio, etc.) that matter to you.
To check out a list of all BI tools that you can use with Panoply, move over to the BI Connection tab from the navigation menu.

Why Do Companies Use Panoply to Manage Business Data?
Panoply is the easiest way to sync, store, and access your business data. Furthermore, Panoply's cloud data platform works with popular analytics and business intelligence tools and keeps data stack maintenance to a minimum by handling chores like vacuuming and API updates for you.
Table-level data governance ensures you have all the control you need, and industry-leading support ranging from robust documentation to expert data architects keeps your data flowing.
Key features of the Panoply platform include:
- code-free data integrations for seamless syncing
- automated data warehouse configuration
- connections to all major BI and analytical tools
- industry-leading onboarding and support
Conclusion
We hope this guide helps you better understand how you can use Panoply to automate your Shopify data exports. To make things easier, we have a free 60-day Proof of Value available for you to test drive our software and see the benefits for yourself.
This post was written by Keshav Malik. Keshav is a full-time developer who loves to build and break stuff. He is constantly on the lookout for new and interesting technologies and enjoys working with a diverse set of technologies in his spare time. He loves music and plays badminton whenever the opportunity presents itself.


